Invoice settings — statuses, payment methods, auto-transfer and SMS
Settings → Modules → Invoice is the module that shapes the money-and-jobs side of the practice. Six pages in three groups.
| Group | Pages |
|---|---|
| Lab Ticket | Ticket Statuses, Lens Statuses, Notification |
| Invoices | Payment Methods, Auto-transfer |
| Notifications | SMS Templates |
Lab Ticket → Ticket Statuses
The states a job can be in — Lab Initiated, Waiting for payment, Ordered lenses, Sent frame to lab, Waiting for customer to drop off frame, Completed - Ready to pick up, Notifed customer, Dispensed in Store, Cancelled - job made.
This one list does two jobs at once: it fills the Status dropdown on a lab ticket, and it is the choice of statuses in the status filter on the Orders screen (the Lab Ticket Status and Contact Lens Status tabs).
Add a status here and it appears in both. So the workflow your practice actually follows is a decision made on this page.
Add opens a small window with one field, Name. To rename or delete a status, click its row; the same window opens with Delete on the left. A name that already exists (ignoring capital letters) is refused with This ticket status already exists. Lens Statuses below works exactly the same way.
Lab Ticket → Lens Statuses
A shorter, separate list for the lenses themselves: Cut, Edged, Ready, Delivered. It fills the Lens Status field on a lab ticket.
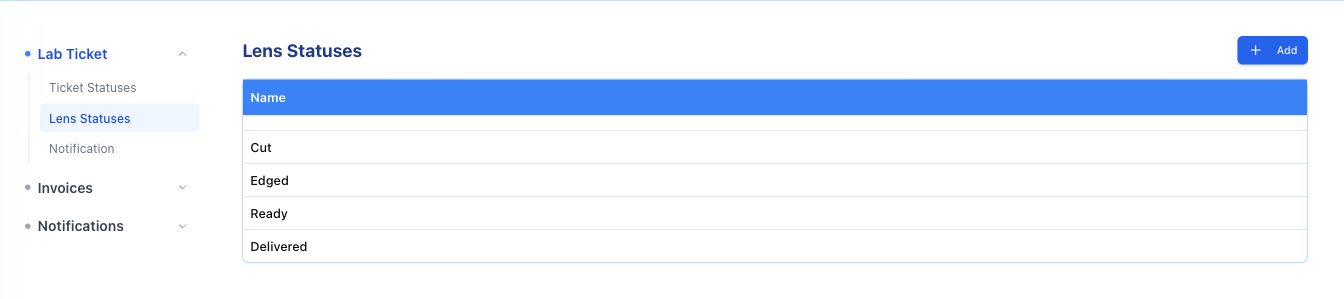
The ticket status says where the job is; the lens status says where the glass is. A ticket can sit at Sent frame to lab while its lenses are already Edged.
Lab Ticket → Notification
Two switches: Email Notification and SMS Notification. Each answers the same question — when a ticket's status changes, should the patient be told?

Turn SMS on here and the message the patient receives is the one written under SMS Templates below. Each switch saves the moment you flip it. Turning both off does not stop staff from messaging the patient by hand from the Orders screen; it only stops the automatic message.
Invoices → Payment Methods
Everything that can appear as a way to pay on an invoice, each with a Category.
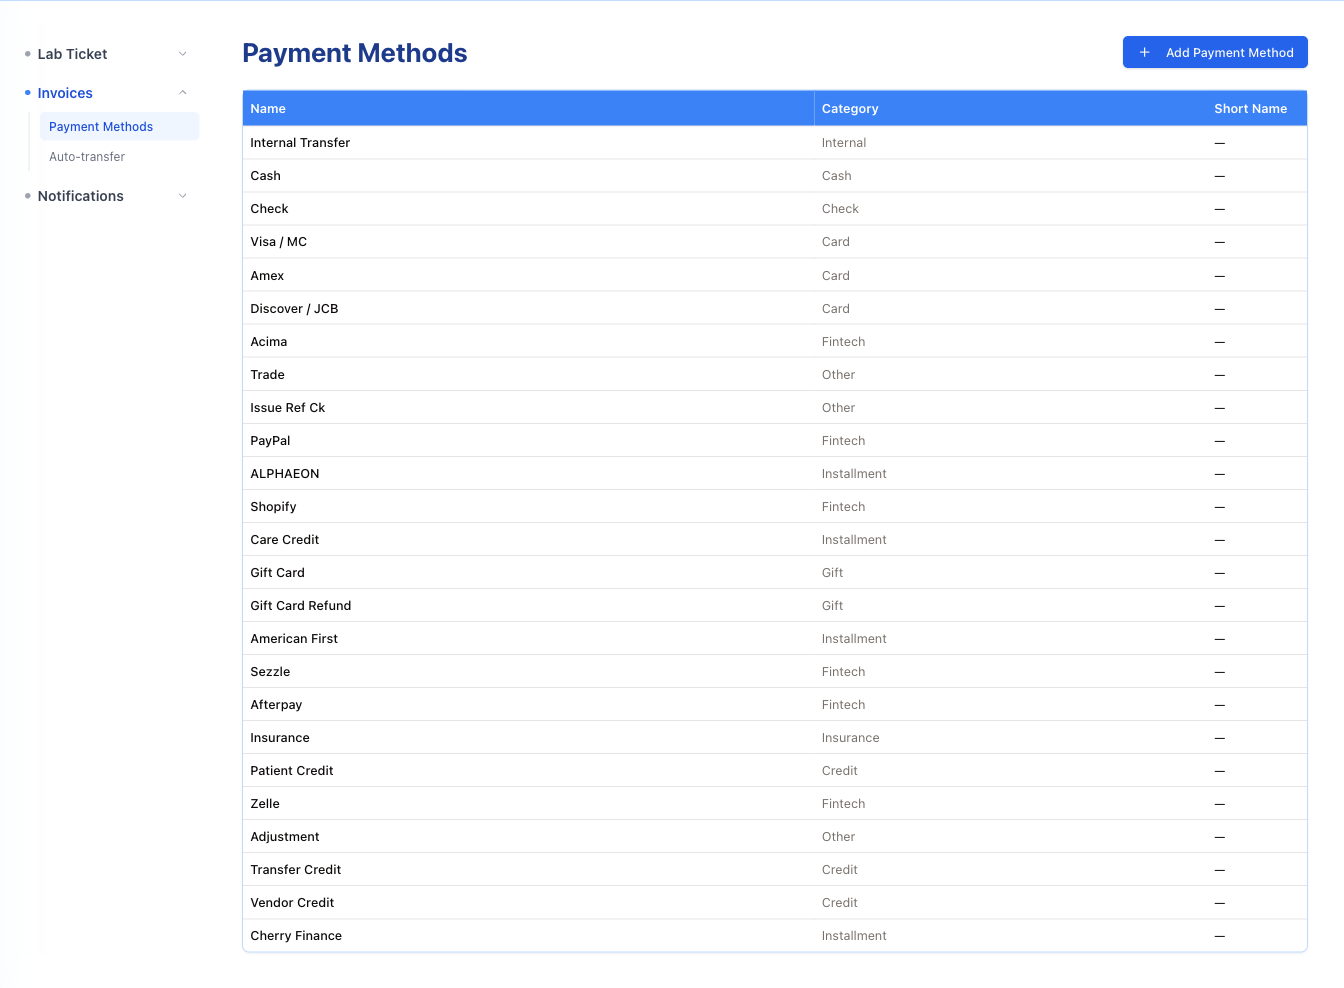
The categories matter more than they look. Cash, Check and Card are the ordinary ones. Fintech covers PayPal, Zelle, Shopify, Sezzle, Afterpay, Acima. Installment covers Care Credit, ALPHAEON, American First, Cherry Finance. Credit covers the internal balances — Patient Credit, Transfer Credit, Vendor Credit — the ones that move money inside the system rather than into the till. Insurance, Gift, Internal and Other speak for themselves.
Add Payment Method asks for a Method Name, a Category and an optional Short Name — and the short name is capped at two letters, like CA or VI. The monthly summary of the Accounting report adds takings up by category (Card, Installment, Fintech, Cash columns), so a new method put in the wrong category lands in the wrong column there.
Click a row to edit or delete a method. Some methods are built into the system: their window says This is a protected payment method (view only), and they cannot be changed or deleted.
Invoices → Auto-transfer
One switch per showcase store — no longer in use.
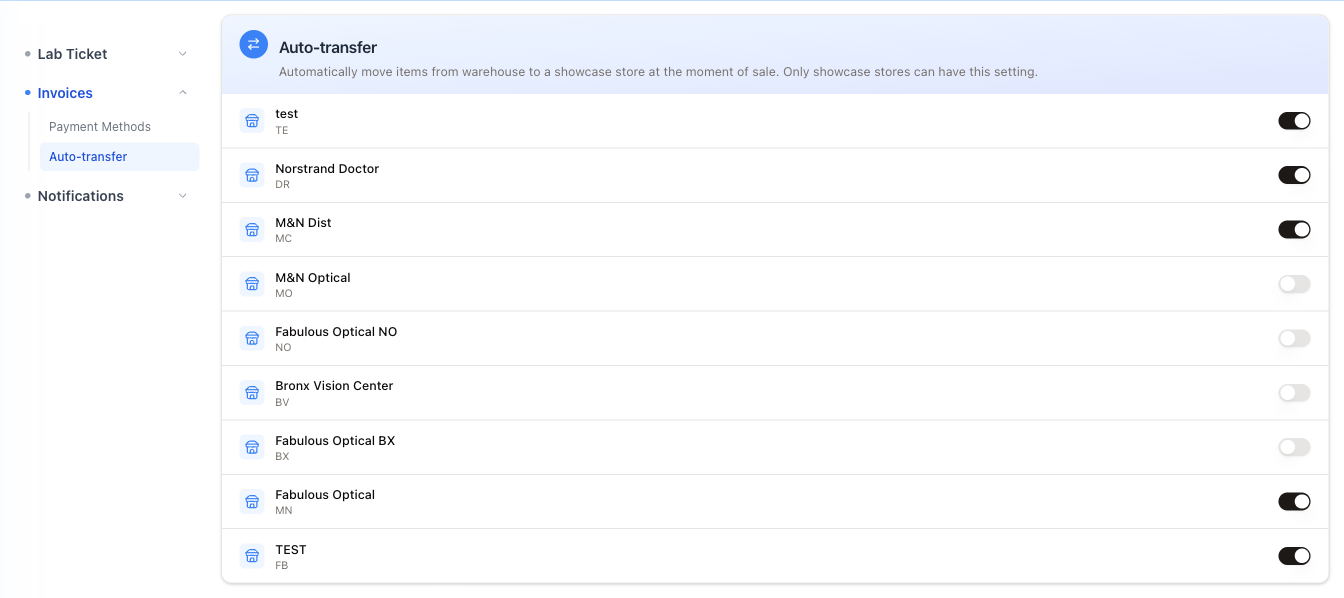
Whatever the switch says, a sale never moves a frame from the warehouse: a showcase sells only what is at the showcase. A frame at the store's warehouse is brought over first by a transfer, which the inventory manager or the store manager makes (see Receipts, transfers and returns). Until then the invoice refuses it and says where it is: the frame is not at this location: the frame is at … — the inventory manager or the store manager transfers it to the showcase before it is sold. A frame taken off an invoice stays at the showcase; it goes back to the warehouse by a transfer too.
Only showcase stores can carry the setting; warehouses themselves cannot. The switch still saves the moment you flip it, and a toast names the store it was turned on or off for — but it changes nothing: the setting is kept for a store inventory setting to come.
Notifications → SMS Templates
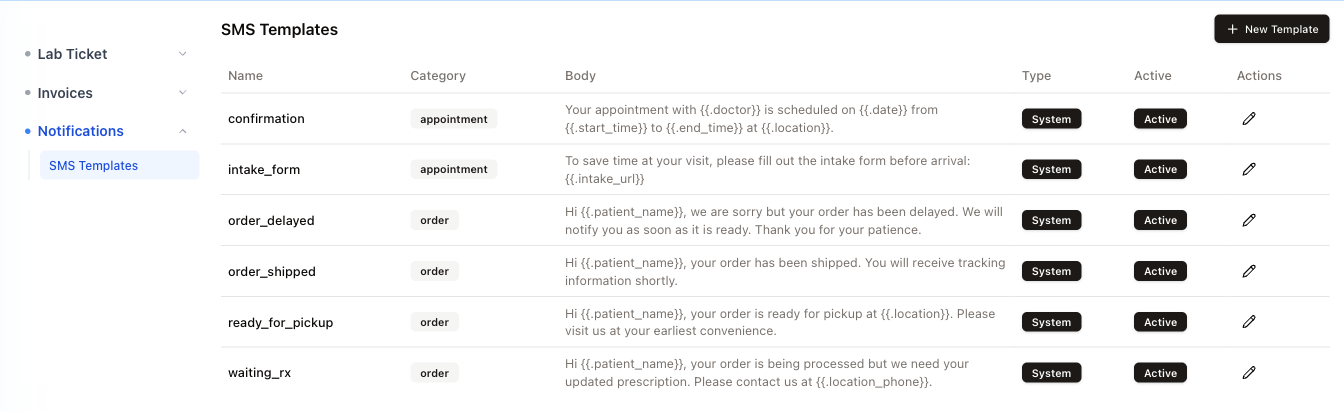
The texts the system sends patients, six of them shipped with the product.
| Template | Category | Sent when |
|---|---|---|
confirmation |
appointment | An appointment is booked or changed |
intake_form |
appointment | A new patient needs to fill in the form |
ready_for_pickup |
order | The job reaches Ready to pick up |
order_shipped |
order | The job is shipped to the patient |
order_delayed |
order | The job is running late |
waiting_rx |
order | The job is stuck for want of a prescription |
Each row shows its text, whether it is System or Custom, and whether it is Active. A system template cannot be deleted or renamed, but its wording and its Active switch are yours to change. Switch one off and that message simply stops going out; it also disappears from the template choice when staff send an SMS by hand from the Orders screen.
Click the pencil to edit.
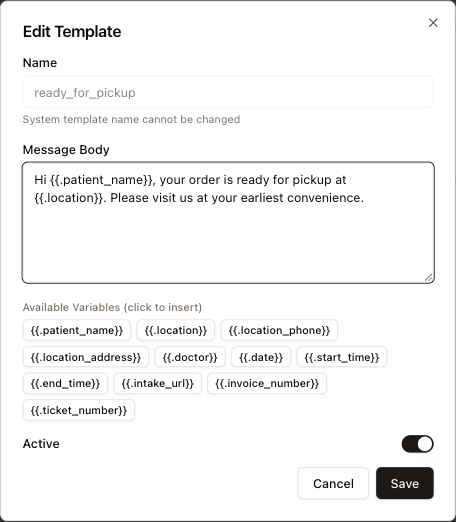
The grey chips under the message body are the variables — the bits the system fills in per patient: {{.patient_name}}, {{.location}}, {{.location_phone}}, {{.location_address}}, {{.doctor}}, {{.date}}, {{.start_time}}, {{.end_time}}, {{.intake_url}}, {{.invoice_number}}, {{.ticket_number}}. Click a chip and it is appended to the end of the message — move it into place from there. Typing a variable by hand is risky: a misspelling is not caught, and the patient receives the raw text.
New Template adds your own. Only the name and the body are actually required — the category is a free-text field that arrives pre-filled with order. Unlike the system ones, your own templates can later be deleted with the bin icon on their row. It deletes at once, with no "are you sure" step.
One quirk worth knowing: the Active switch in the New Template dialog is ignored on creation. Create the template first, then reopen it and set Active there.